Welcome to your Beem 500, and thanks for choosing Portronics! This guide walks you through unboxing, setup, and everyday use so you can get the most out of your projector.
TABLE OF CONTENTS
- 1. What's in the Box
- 2. Key Specifications
- 3. Getting to Know Your Projector
- 4. Getting to Know the Remote
- 5. Setting Up Your Projector
- 6. Projection Distance Reference
- 7. Indicator Light Guide
- 8. Safety Guidelines
- 9. Warranty & Support
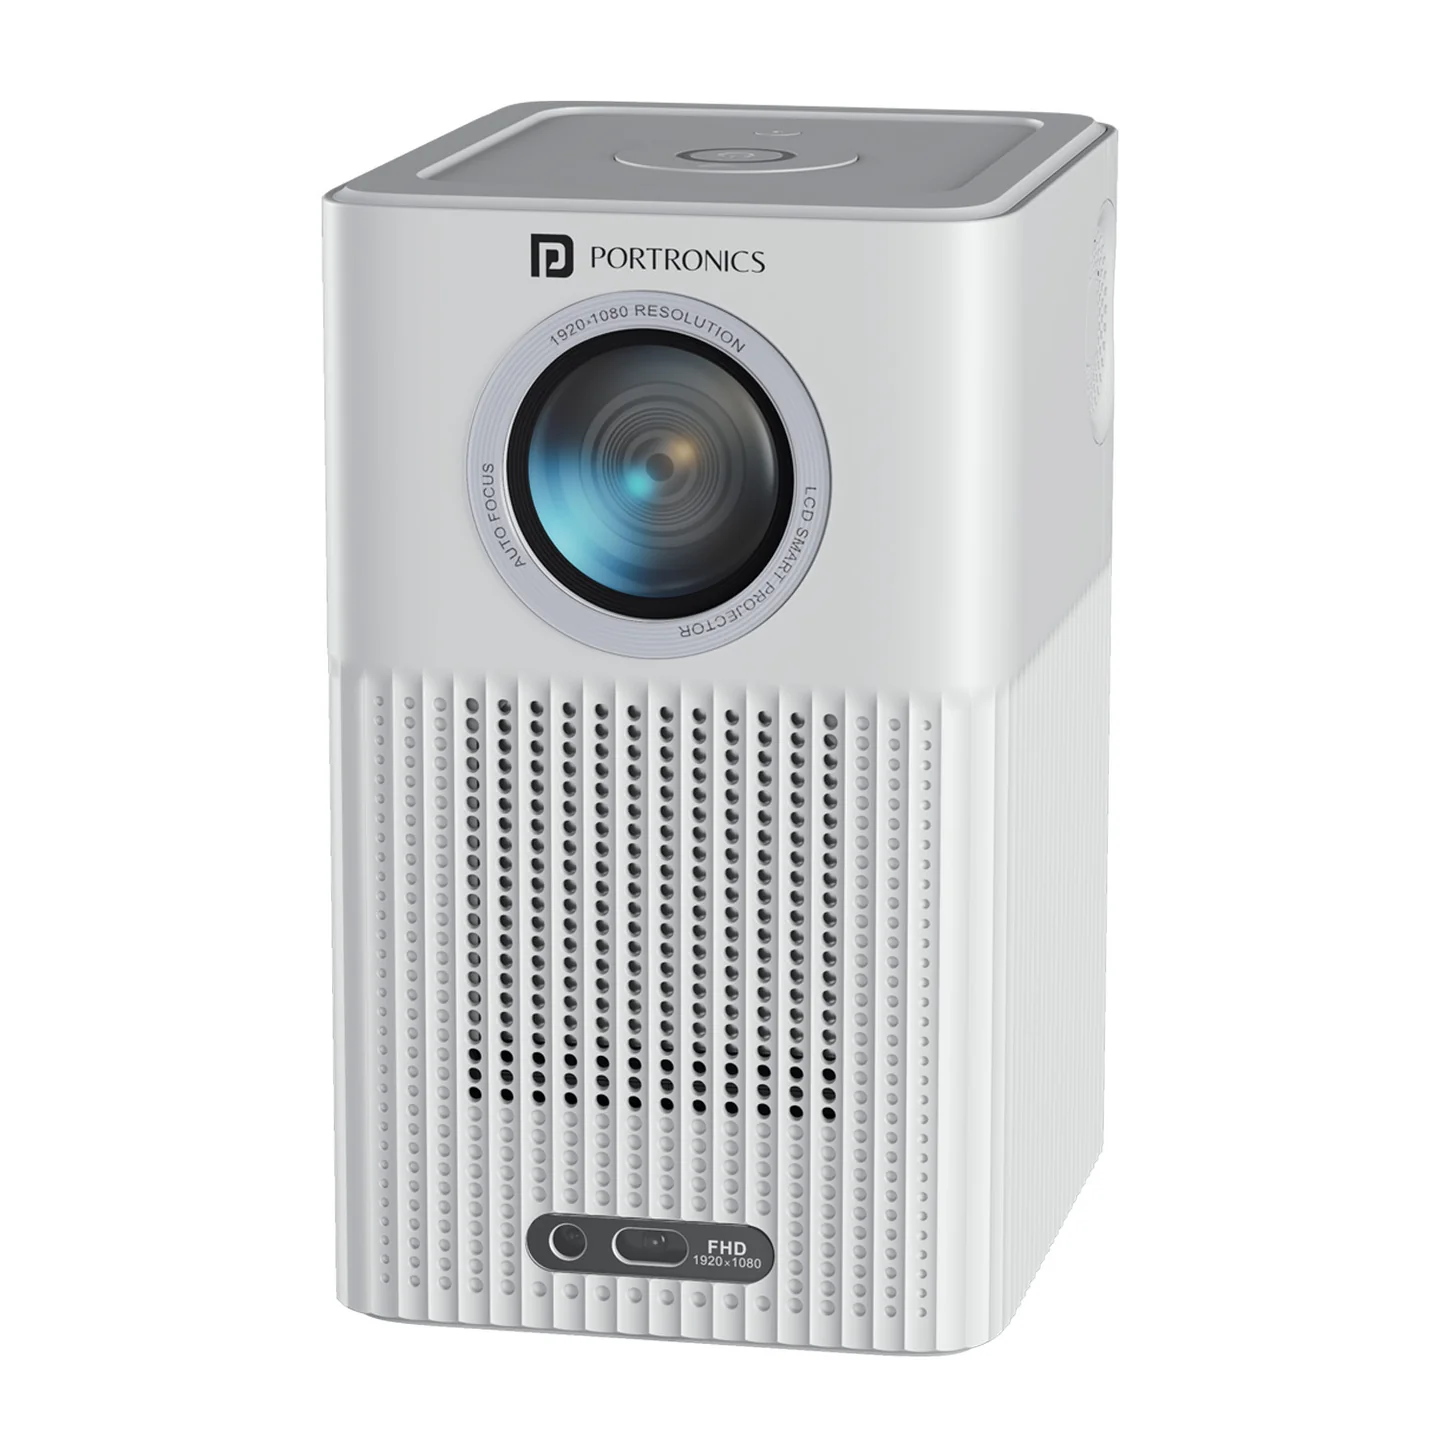
1. What's in the Box
- 1 × Projector
- 1 × AC Cable
- 1 × User Manual
- 1 × Remote Control
2. Key Specifications
| Spec | Detail |
|---|---|
| Model | Beem 500 (Model Code: POR 2295) |
| Product type | Smart LED Projector |
| Colour | White |
| Brightness | 6700 Lumens |
| Native resolution | 1080p Full HD |
| Support resolution | Up to 8K Ultra HD content |
| Operating system | Android 9.0 based |
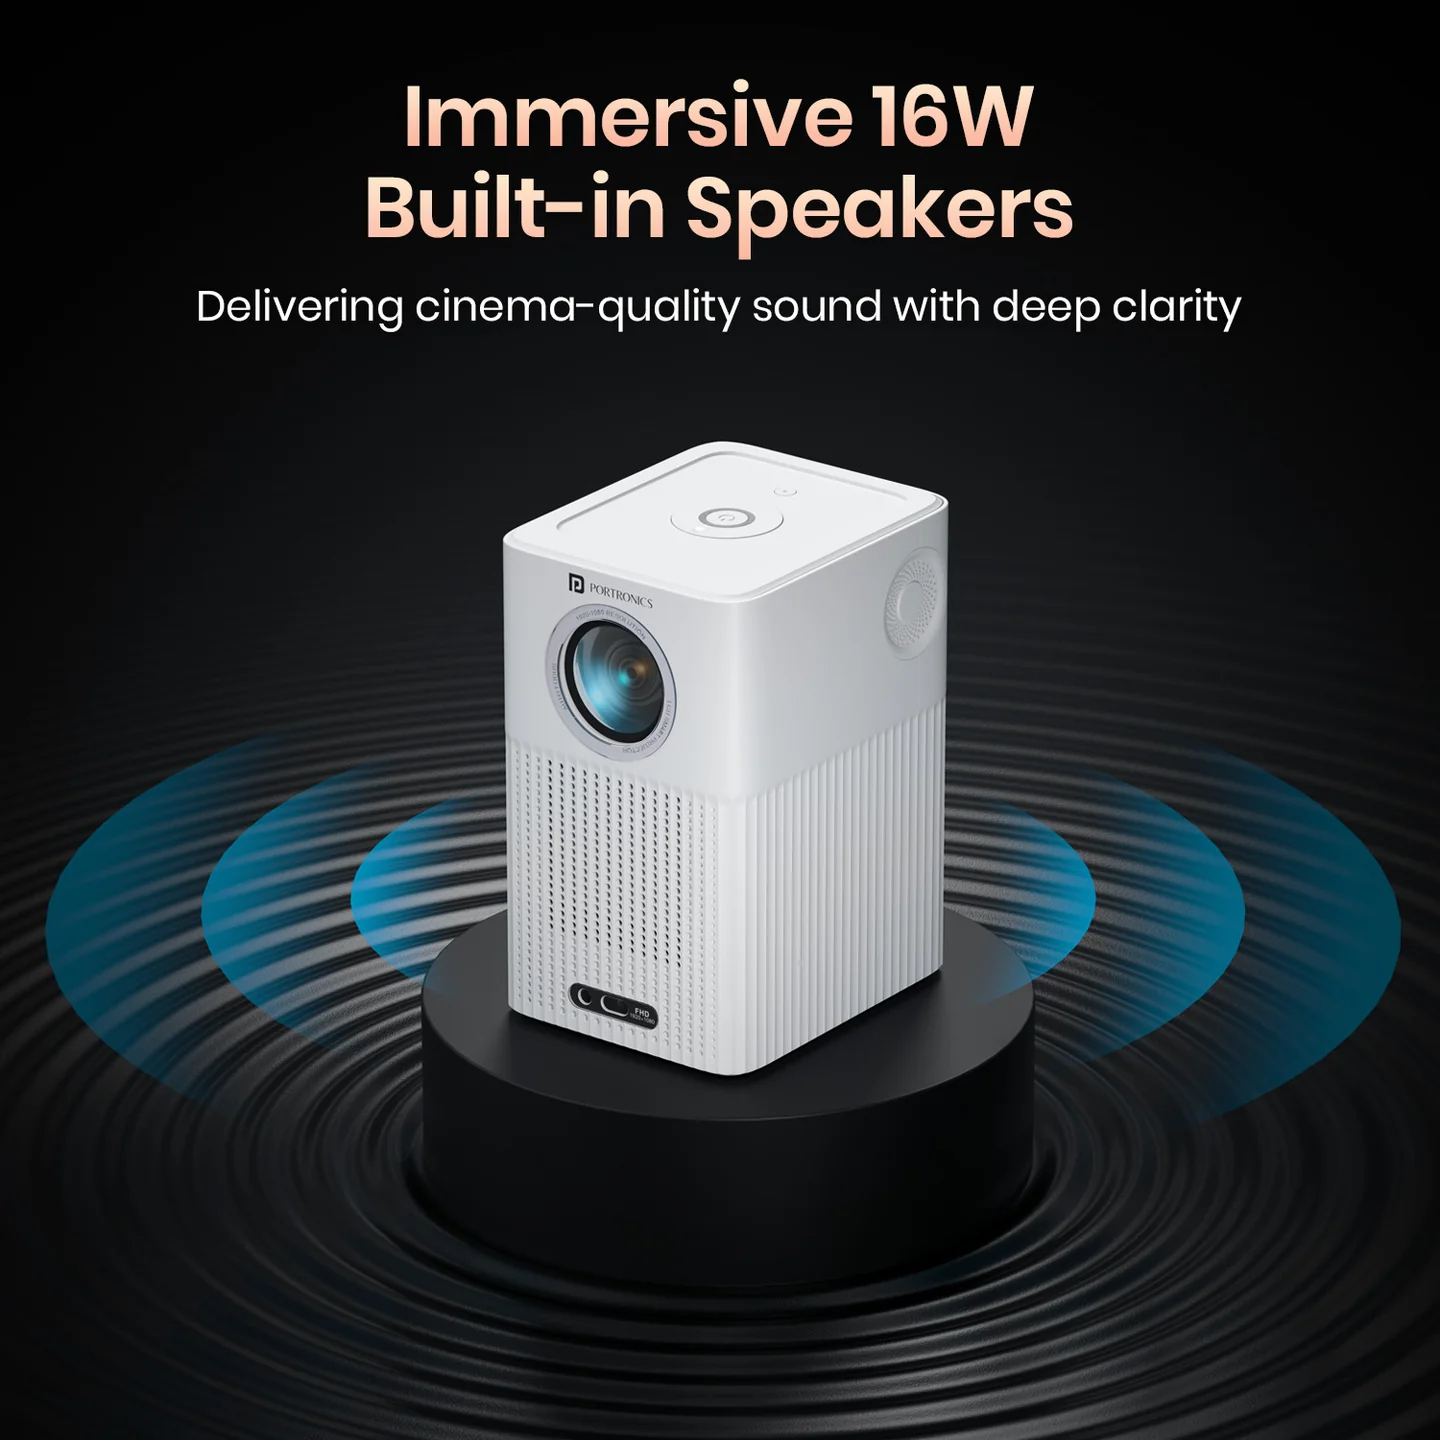
| Built-in speakers | 16 Watts, stereo |
| Wireless connectivity | Wi-Fi & Bluetooth |
| Wired connectivity | HDMI, Ethernet, USB, AUX (headphone out) |
| Power source | Power cord (AC) |
| Special features | Mic-enabled voice remote, obstacle detection, auto focus, auto keystone correction, dust-free sealed optical engine |
| Pre-installed apps | Netflix, YouTube, Prime Video, Hotstar, and more |
| Warranty | 12 months |
3. Getting to Know Your Projector
Front & Body
- Projection lens — where the image is projected from
- Multi-function knob — adjust volume and other quick settings
- Power button — turn the projector on/off
- Mode button — switch input/projection modes
- Speaker — built-in 16W stereo speaker
Top View
- Multi-function knob with tactile switch
- Power button
- Autofocus sensor — supports automatic focus adjustment
- Indicator light — shows the current status of your projector (see Section 7)
Rear — Ports Interface
Your Beem 500 includes the following ports:
- Infrared receiver (for remote control signal)
- Headphone/AUX output
- USB × 2
- HDMI input
- Ethernet port
- Air outlet (keep unblocked)
- Heavy bass amplifier
- Air intake
- Input/output interface
- AC power cable interface
4. Getting to Know the Remote
| Button | Function |
|---|---|
| Power | Turn the projector ON or OFF |
| Focus –/+ | Manually fine-tune focus |
| Mouse Mode | Switch remote to act as a pointer/mouse |
| Arrow keys | Navigate up, down, left, right |
| OK | Confirm/select |
| Home | Return to the home screen |
| Return | Go back to the previous menu |
| Auto Focus key | Trigger automatic focus adjustment |
| Multi-Function keys | Shortcut/context actions |
| Mute | Mute/unmute the speaker |
| Volume +/- | Increase or decrease volume |
| Voice | Press and speak to search content hands-free |
| Projector Setting | Open projector settings menu |
| Picture Correction | Manually adjust keystone/picture alignment |
Remote pairing indicator guide:
| State | What it means |
|---|---|
| Disconnected (no pairing history) | Press any key on the remote to enter pairing mode; the LED will flash |
| Disconnected (pairing info not connected) | If the indicator blinks slowly for three times, no information is being displayed — try again |
| Online | Press and hold the power button; the light will flash |
| Voice Enabled | Keep the light on |
| Low Power | Light flashes quickly — remote battery is low, replace soon |
5. Setting Up Your Projector
- Unpack the projector, AC cable, and remote as listed in Section 1.
- Place the projector on a flat, stable surface facing your screen or wall, keeping it well clear of the wall behind it (see Safety Guidelines).
- Connect the AC cable to the projector's power interface and plug it into a wall outlet.
- Press the Power button on the remote or the projector to turn it on.
- The Beem 500 features auto focus, auto keystone correction, and obstacle detection — in most cases, it will automatically adjust the image for you. If needed, use the Picture Correction or Focus +/- buttons on the remote for manual fine-tuning.
- Once powered on, follow the on-screen setup to connect to Wi-Fi and sign in to your preferred streaming apps.
6. Projection Distance Reference
Use this table to figure out how far to place your projector from your screen based on the image size you want (measured without keystone correction).
| Projection distance | 43" | 54" | 72" | 90" | 109" |
|---|---|---|---|---|---|
| Screen width × height (M) | 0.96×0.539 | 1.20×0.675 | 1.60×0.898 | 2.00×1.122 | 2.40×1.347 |
| Diagonal screen size (inches) | 1.28 | 1.50 | 2.00 | 2.50 | 3.00 |
As a simple rule of thumb: the farther the projector is from your screen, the larger the image will be.
7. Indicator Light Guide
Your projector's indicator light shows its current status at a glance:
| Working state | Indicator description |
|---|---|
| Standby | White breathing light |
| Power on | White light steady on |
| Bluetooth speaker mode — pairing | Blue light fast blinking |
| Bluetooth speaker mode — pairing completed | Colorful light on |
| Fault state — temperature abnormal | Red light blinking |
| Fault state — fan abnormal | Red light fast blinking |
If you see a fault-state indicator, refer to the Troubleshooting Guide or raise a support ticket so our team can help.
8. Safety Guidelines
- Keep the projector away from dust, water/moisture, and extreme temperatures. It is not dustproof or waterproof.
- Clean the vents regularly to avoid cooling malfunctions.
- Use a good-quality power cord matched to the rated power supply.
- Never look directly into the lens while the projector is on — the light is strong enough to cause discomfort. Keep children supervised around the projector.
- Don't cover the vents. Keep the projector in a well-ventilated space, positioned at least 2 feet away from any wall behind it.
- Unplug the projector if it won't be used for an extended period.
- Don't attempt to open or repair the projector yourself — this voids the warranty. Contact us instead.
- For the best picture, position the projector 5 feet above the ground and at least 5 feet from the wall/screen in front of it.
- Operate the remote from behind the projector for the most reliable signal.
9. Warranty & Support
- Warranty period: 12 months from the date of purchase, covering product design, feature, and functionality faults.
- Not covered: Damage caused by physical impact, water/liquid exposure, fire, or similar customer- or nature-caused damage.
- Repair vs. replacement: During the warranty period, eligible products are repaired at Portronics' discretion; replacement is not guaranteed.
Need Help?
- Visit: www.portronics.com
- Demo video:Click Here
- Support Portal: support.portronics.com
Was this article helpful?
That’s Great!
Thank you for your feedback
Sorry! We couldn't be helpful
Thank you for your feedback
Feedback sent
We appreciate your effort and will try to fix the article