TABLE OF CONTENTS
- 1. Introduction
- 2. Package Contents
- 3. Product Specifications
- 4. Product Layout
- 5. Safety Instructions
- 6. How to Use — Cordless Mode
- 7. How to Use — Corded Mode
- 8. LED Light Functions
- 9. USB Output Function
- 10. Charging Instructions
- 11. Support
1. Introduction
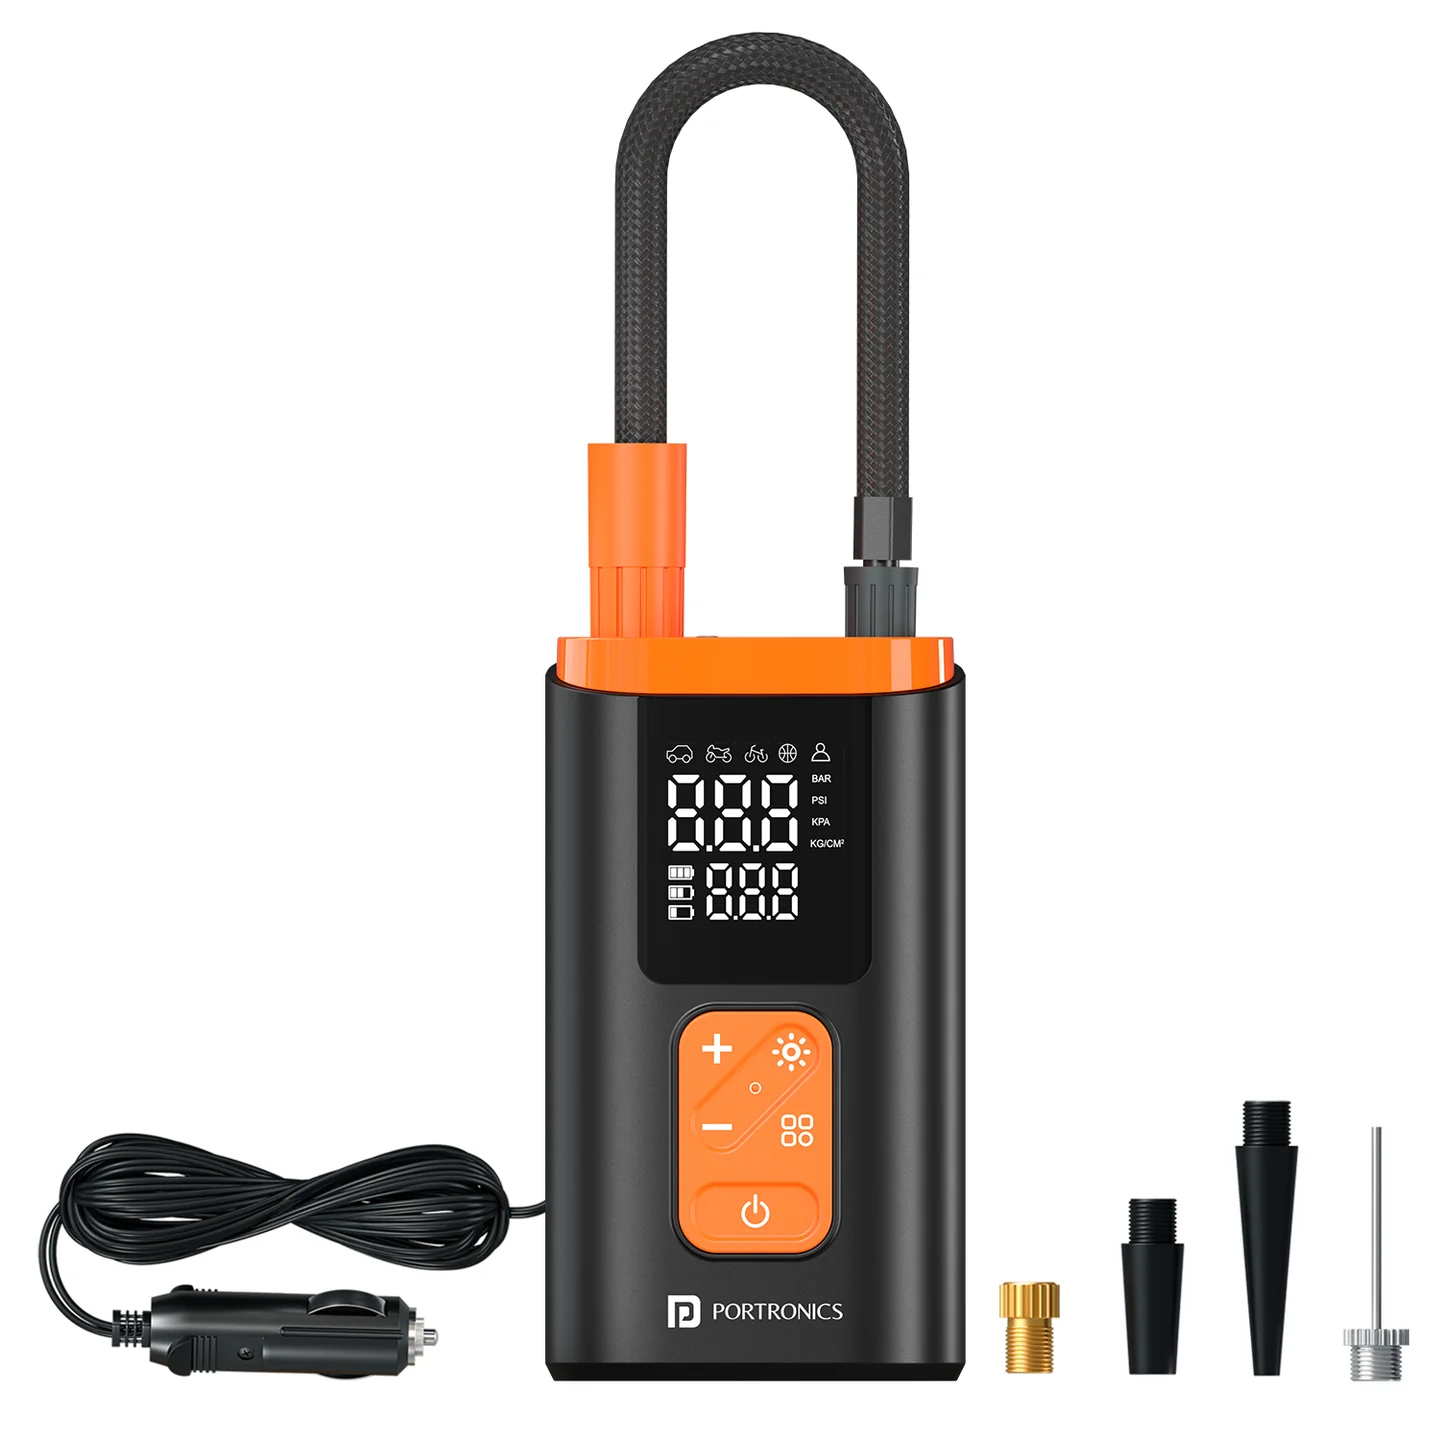
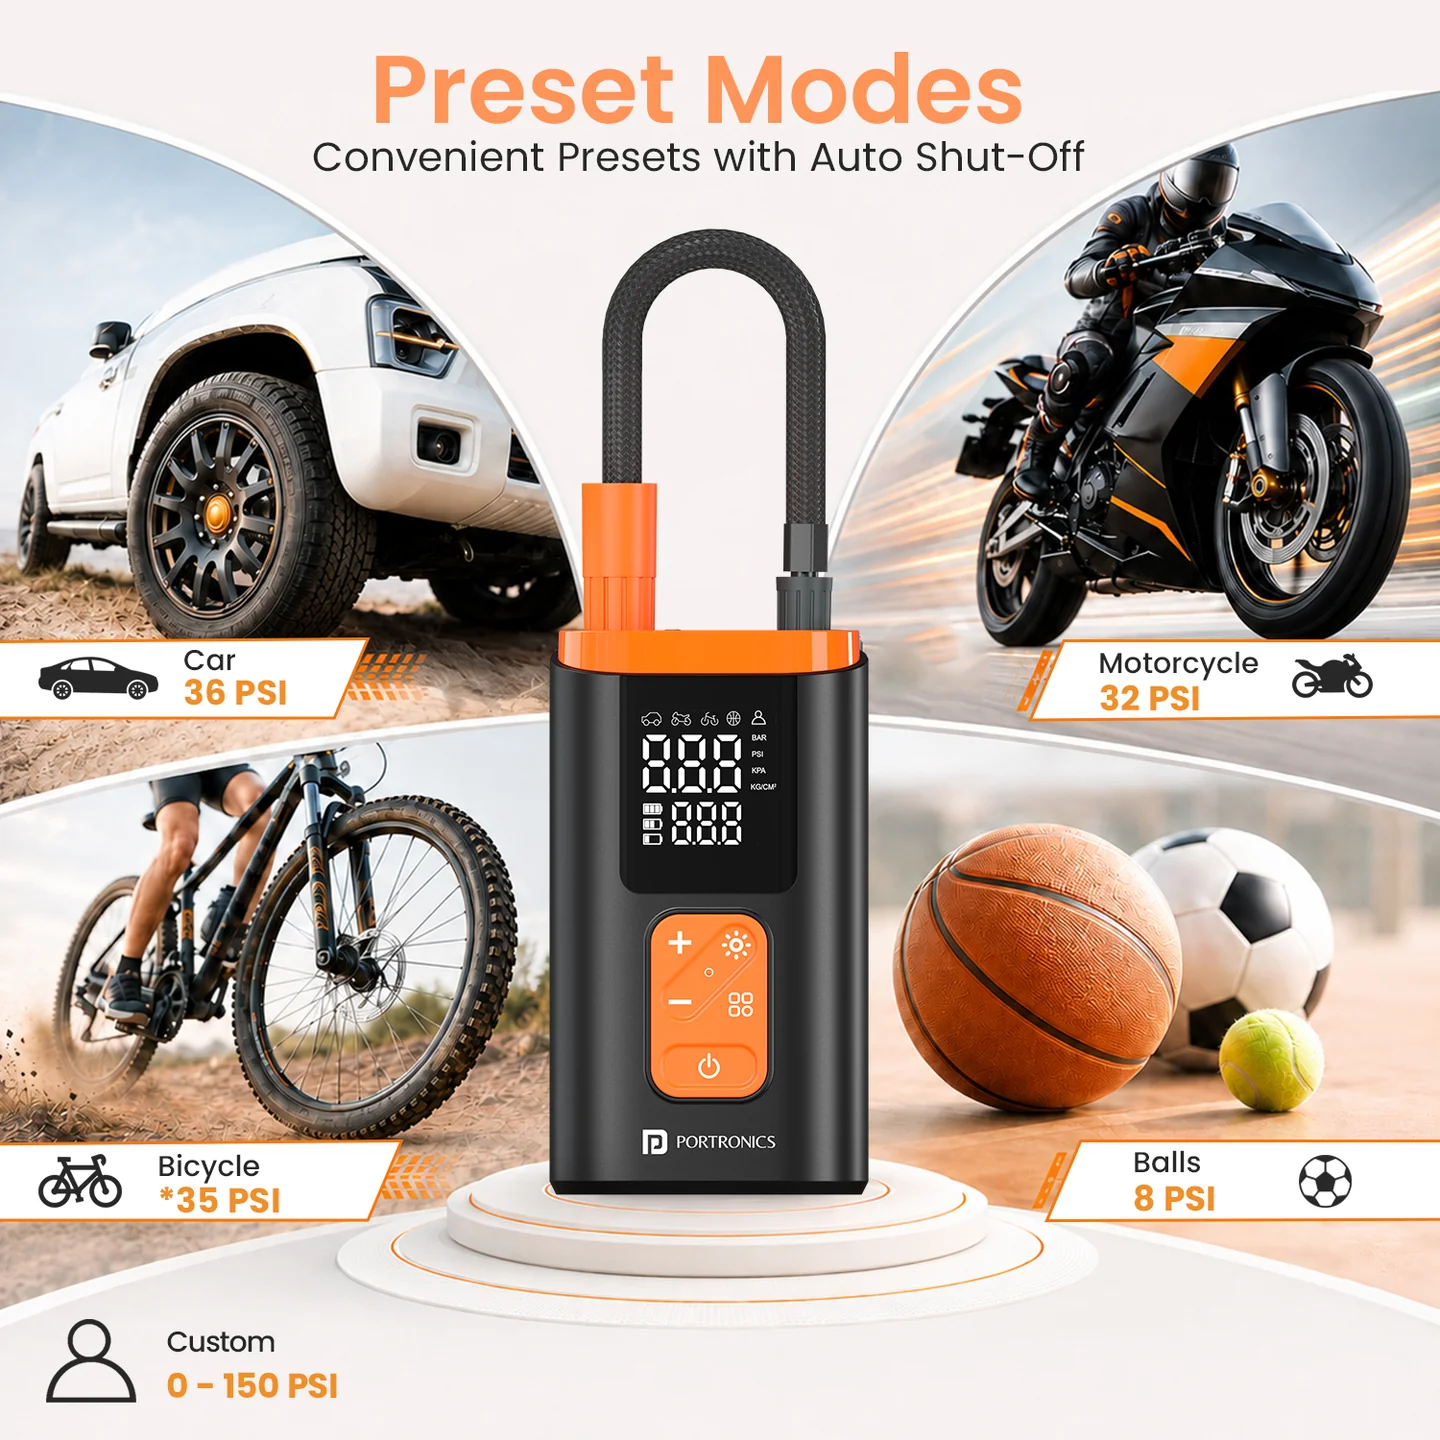
Thank you for choosing the Portronics Vayu Core. This rechargeable & corded inflator is designed for quick and convenient inflation of car tyres, bike tyres, motorcycle tyres, sports balls, and other inflatables. Please read this manual carefully before first use and keep it for future reference.
2. Package Contents
- Portable Tyre Inflator — 1
- Nozzles — set
- 3M Cigarette Lighter Cable — 1
- Air Hose — 1
- Type-C Charging Cable — 1
3. Product Specifications
| Specification | Details |
|---|---|
| Model | Vayu Core |
| Model Code | POR 3586 |
| Product Size | 71 x 44.5 x 126 mm |
| DC Input | 12V |
| Charging Input | 5V ⎓ 2A |
| USB Output | 5V ⎓ 1A |
| Battery Capacity | Dual 1800mAh |
| Rated Power | 60W |
| Cylinder Inner Diameter | 19mm |
| Inflation Pressure Range | Up to 150 PSI |
| Pressure Units | PSI, BAR, KPA, KG/CM² |
| Charging Time | Approx. 4–5 hours |
4. Product Layout
Front panel (display & controls):
| Element | Function |
|---|---|
| Mode Indicator | Shows the currently selected inflation mode |
| Unit Indicator | Shows the selected pressure unit |
| Tire Pressure Display | Shows real-time pressure |
| Preset Pressure Display | Shows the target pressure you've set |
| Battery Indicator | Shows remaining battery level |
| Pressure Increase ("+") Button | Raises the target pressure |
| Pressure Decrease ("–") Button | Lowers the target pressure |
| Flashlight / SOS Button | Cycles the LED light modes |
| Mode & Unit Button | Short press: cycle inflation modes. Long press: change pressure unit |
| Power / Start Button | Powers the device on, starts/stops inflation |
Underside (ports):
| Element | Function |
|---|---|
| Air Outlet | Where the air hose connects for inflation |
| Air Hose Storage Port | Stores the hose when not in use |
| LED Light Window | Shows the built-in flashlight/SOS light |
| Type-C Charging Port | Charges the internal batteries |
| USB Output Port | 5W emergency output for charging small devices |
5. Safety Instructions
- Keep away from children.
- Do not expose the product to fire, water, or excessive heat.
- Avoid storing below –10°C or above 45°C.
- Recharge every 3 months if unused for long periods.
- Do not use near flammable or explosive materials.
- Stop using immediately if abnormal noise or overheating occurs.
- Never leave the inflator unattended during use.
- Use only in dry environments.
- Ensure the correct pressure unit is selected before inflating.
6. How to Use — Cordless Mode
- Connect the Air Hose — screw the air hose clockwise onto the inflator securely.
- Attach to the Tyre Valve — connect the other end of the hose to the tyre valve tightly.
- Power On — press and hold the Power Button for 3 seconds to switch on the inflator.
- Select Inflation Mode — press the Mode Button to switch between preset modes. Long-press the Mode Button for 2 seconds to change the pressure unit.
- Set Pressure — use the "+" and "–" buttons to adjust the pressure value manually.
- Start Inflation — press the Power Button once to start. The inflator automatically stops once the preset pressure is reached.
Auto Shut-Off: stops automatically after 3 minutes without load, and stops after 90 seconds in standby mode.
7. How to Use — Corded Mode
- Start the vehicle.
- Insert the cigarette lighter plug into the car socket.
- Connect the cable to the inflator — the rest of the steps are the same as Cordless Mode above.
8. LED Light Functions
Press the Light Button to cycle through modes:
- White Light ON
- Slow Flash
- Fast Flash / SOS
- OFF
9. USB Output Function
The 5W USB output port can be used to charge small electronic devices such as smartphones, earbuds, etc.
10. Charging Instructions
- Fully charge the inflator before first use.
- Use the included Type-C cable with a 5V USB adapter.
Battery Indicators:
| Indicator | Charge Level |
|---|---|
| 1 Bar Flashing | 0%–30% |
| 2 Bars ON + 1 Flashing | 30%–65% |
| 3 Bars ON | Fully Charged |
Battery Care: to maintain battery health, recharge the inflator at least once every month.
11. Support
If the issue persists after performing all troubleshooting steps, please raise a support request.
Our support team will assist you further.
Support
- Visit: www.portronics.com
- Support Portal: support.portronics.com
Was this article helpful?
That’s Great!
Thank you for your feedback
Sorry! We couldn't be helpful
Thank you for your feedback
Feedback sent
We appreciate your effort and will try to fix the article