TABLE OF CONTENTS
- Product Overview
- Quick Reference
- Getting Started
- Adjusting the Focus
- Using the Remote Control
- Smart Projector Interface
- Connecting a Laptop Through HDMI
- Wireless Features
- Image Position and Keystone
- Care and Safety
- Still stuck?
Product Overview
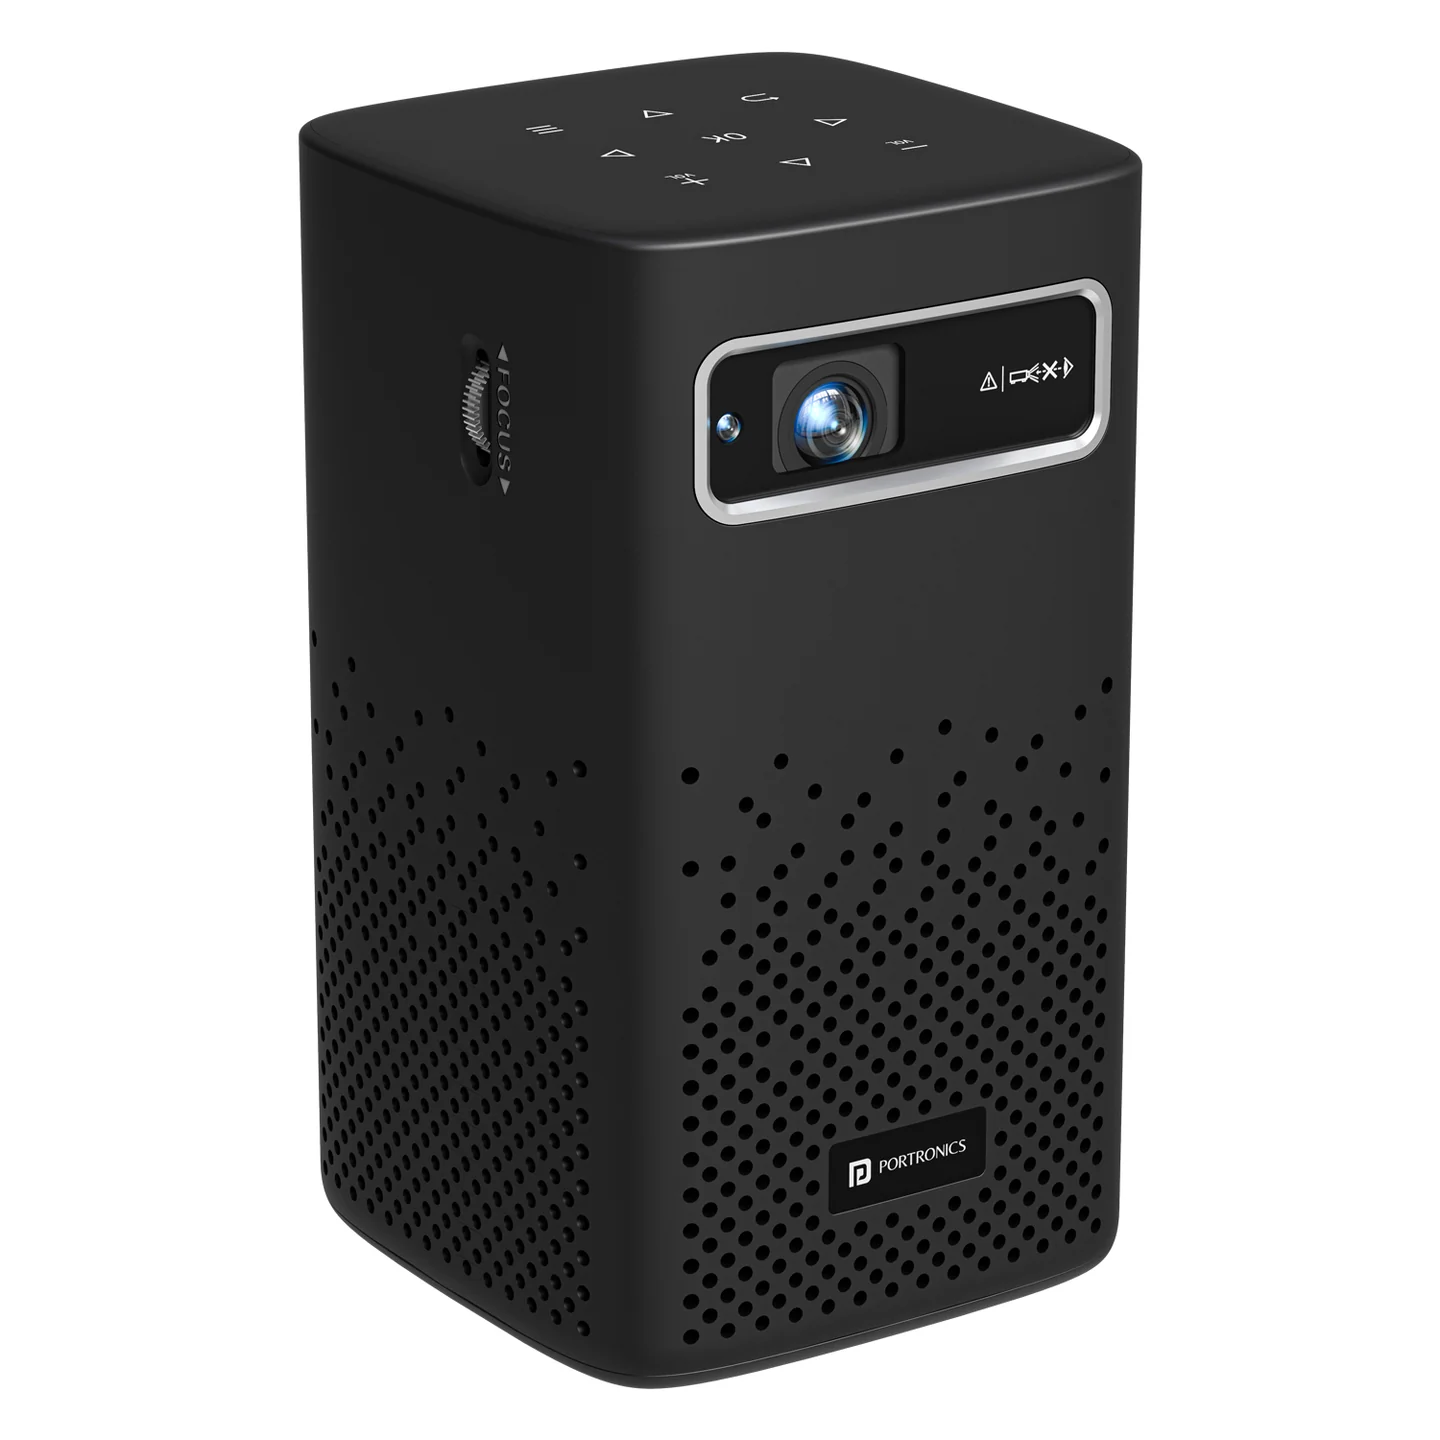
The Portronics Pico 13 is a smart LED projector with a built-in smart interface, wireless connectivity features, external source support, and manual focus adjustment.
Quick Reference
| Feature | Details |
|---|---|
| Product | Portronics Pico 13 Smart LED Projector |
| Focus | Manual focus using the side focusing wheel |
| Remote Control | Aim the remote at the back of the projector |
| External Display | HDMI input supported |
| Wireless Features | Miracast, AirPlay and iMirror |
| Smart Interface | Includes apps and functions such as YouTube, Netflix, Prime Video and File Manager |
Getting Started
Place the projector on a stable surface or use the supplied tripod/stand.
Keep the ventilation openings unobstructed.
Aim the projector toward the wall or screen.
Connect the power adapter/cable.
Press the power button and wait for the projector to complete startup.
Once the home screen appears, position the projector correctly.
Turn the side focusing wheel until the image is clear.
Adjusting the Focus
The Pico 13 uses a manual side focusing wheel.
Locate the focusing wheel on the side of the projector.
Turn the wheel slowly while viewing the projected image.
Stop when the image becomes sharp and clear.
Recheck the focus whenever the projector is moved.
Using the Remote Control
| Control | Function |
|---|---|
| Power | Turn the projector on or off |
| Home | Return to the home screen |
| Direction Keys | Move through menus and options |
| OK | Select the highlighted option |
| Back | Return to the previous screen |
| Menu / Settings | Open available settings or menu options |
| Volume | Adjust the sound level |
| Mute | Turn sound on or off |
Tip: Aim the remote at the back of the projector during use.
Smart Projector Interface
From the home screen, you can access available functions and applications such as:
Miracast
AirPlay
iMirror
Settings
App Store
YouTube
Netflix
File Manager
Prime Video
Application availability, sign-in requirements and features may vary depending on the app and account configuration.
Connecting a Laptop Through HDMI
Connect the laptop to the projector using an HDMI cable.
Select the correct HDMI input/source on the projector.
Confirm that the laptop display appears on the projection screen.
On a Windows laptop, choose the required display mode:
Duplicate
Extend
Second screen only
Open and play the required content from the laptop.
Wireless Features
The projector provides access to wireless functions such as Miracast, AirPlay and iMirror.
For wireless connection issues, first make sure the projector and source device are connected to the appropriate network, then retry the connection from the relevant function.
Image Position and Keystone
For the best image:
Place the projector on a stable surface.
Point the projector more directly toward the projection surface.
Allow the projector's automatic vertical keystone correction to complete.
Recheck the image position and focus after moving the projector.
Care and Safety
Keep all ventilation openings clear during use.
Do not cover the projector's vents.
Use the projector in a well-ventilated area.
Keep it away from direct sunlight and excessive heat.
Clean the lens gently with a soft, dry cloth when required.
Do not look directly into the projector lens while it is operating.
Keep children under adult supervision while using the projector.
Cut off the power when the projector will not be used for a long time.
Do not attempt to disassemble the projector for testing or maintenance.
The projector is not dustproof or waterproof.
Still stuck?
If the issue persists after performing all troubleshooting steps, please raise a support request.
Our support team will assist you further.
Support
Visit: www.portronics.com
Support Portal: support.portronics.com
Was this article helpful?
That’s Great!
Thank you for your feedback
Sorry! We couldn't be helpful
Thank you for your feedback
Feedback sent
We appreciate your effort and will try to fix the article