TABLE OF CONTENTS
- Product Overview
- Quick Reference
- What's in the Box
- Before You Begin
- Assembly Instructions
- Using the Caster Wheel Locks
- Load Capacity and Everyday Use
- Care & Maintenance
- Still stuck?
Product Overview
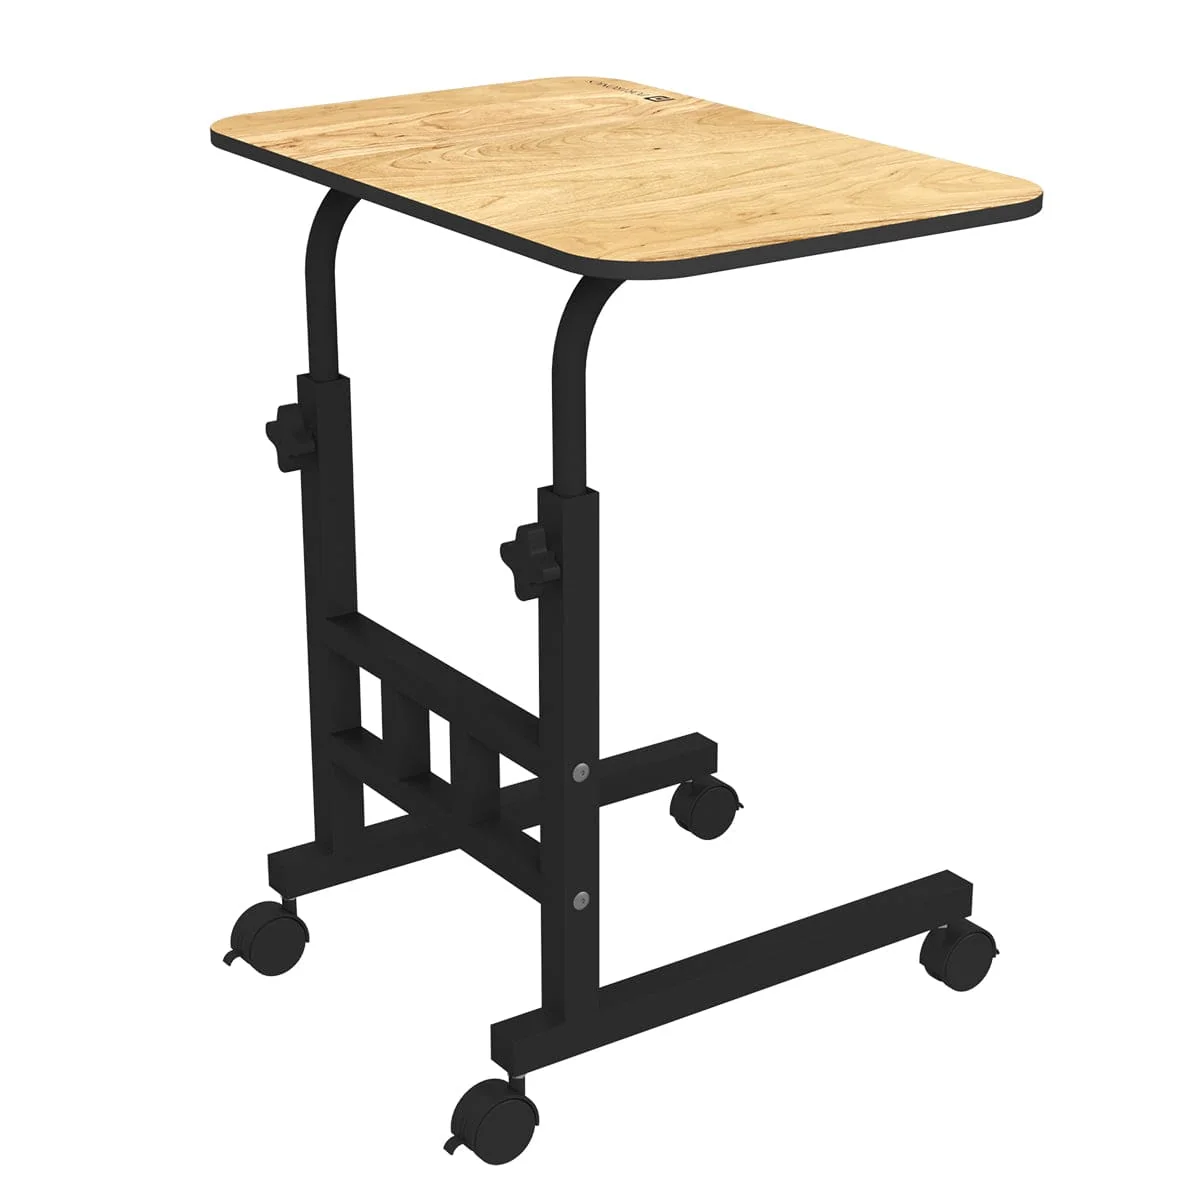
The Portronics My Buddy D is a movable, height-adjustable multipurpose table with a pre-laminated tabletop, metal frame and four caster wheels. Use it beside a bed or sofa, or as a compact table for a laptop, reading, writing, drawing and other everyday activities.
Quick Reference
| Feature | Details |
|---|---|
| Tabletop | Pre-laminated particle board |
| Frame | Metal |
| Height Adjustment | 52–80cm |
| Maximum Load | Up to 10kg |
| Wheels | 4 caster wheels |
| Wheel Locks | 2 integrated safety locks |
| Assembly | DIY; approximately 10–20 minutes |
What's in the Box
| Part / Accessory | Quantity |
|---|---|
| Pre-laminated Tabletop | 1 |
| Link Frame | 1 |
| Base Pipe / Frame | 1 |
| Elbow Pipes | 2 |
| Caster Wheels | 4 |
| Metal Washers | As supplied |
| Long and Short Allen CSK Screws | As supplied |
| Spanner and Allen Keys | As supplied |
Before You Begin
- Choose a level surface with enough space to assemble the table.
- Protect the tabletop from scratches during assembly.
- Identify the link frame, base frame/pipes, elbow pipes, wheels, washers and screws.
- Keep the supplied screwdriver, spanner and Allen key within reach.
- Tighten fasteners securely, but do not overtighten them.
Assembly Instructions
Step 1 — Assemble the Base Frame
- Align the chassis/base pipe and link frame.
- Fit the four long Allen CSK screws through the matching holes.
- Tighten the screws with the appropriate tool.
- Check that the frame sits squarely and does not wobble.
Step 2 — Attach the Caster Wheels
- Turn the base carefully so the wheel mounting points are accessible.
- Fit a metal washer into each wheel assembly where shown.
- Attach all four caster wheels to the bottom of the base.
- Tighten the wheel fasteners with the supplied spanner.
- Check that each wheel rotates and that the two locking wheels lock and release correctly.
Do not use the table if a wheel is loose or its fastener is missing.
Step 3 — Attach the Elbow Pipes to the Tabletop
- Place the tabletop upside down on a clean, protected surface.
- Position the two elbow pipes against the underside of the tabletop, aligning the holes.
- Secure them using the four short Allen CSK screws.
- Check that both pipes are firmly attached and aligned.
Step 4 — Join the Tabletop Assembly to the Frame
- Position the tabletop assembly above the frame.
- Align the elbow pipes with the corresponding frame connections.
- Join the tabletop assembly and frame as shown in the assembly illustrations.
- Tighten the fasteners and confirm the tabletop is stable before turning the table upright.
If the holes do not line up, check the orientation of the parts. Do not force a screw into a misaligned hole.
Step 5 — Set the Table Height
- Hold the tabletop steady.
- Loosen the height-adjustment knob on the side of the table.
- Raise or lower the tabletop to the required height within 52–80cm.
- Tighten the knob securely before placing anything on the table.
- Check that the height stays fixed.
Never adjust the height while the table is heavily loaded.
Using the Caster Wheel Locks
- To move the table, release the wheel locks and push it slowly.
- To keep the table in place, engage the locks on the two locking casters.
- Place the table on a level surface before use.
- Check that the table does not roll or shift before placing items on it.
Load Capacity and Everyday Use
The maximum supported load is 10kg.
- Distribute the load evenly across the tabletop.
- Place heavier items near the centre rather than the edge.
- Do not sit, stand or climb on the table.
- Do not push down hard on one corner of the tabletop.
- Do not move the table while it carries heavy or unstable items.
Care & Maintenance
- Wipe the tabletop and frame with a soft, dry or slightly damp cloth, then dry thoroughly.
- Do not use harsh chemicals or abrasive cleaners.
- Keep the table away from prolonged moisture.
- Check screw tightness regularly.
- Inspect the caster wheels and locks periodically.
- Recheck the height-adjustment knob if the tabletop begins to slip.
- Stop using the table if the frame is bent, a joint is damaged or a wheel cannot be secured.
Still stuck?
If the issue persists after checking the assembly and adjustments, please raise a support request.
Our support team will assist you further.
Support
- Visit: www.portronics.com
- Support Portal: support.portronics.com
Was this article helpful?
That’s Great!
Thank you for your feedback
Sorry! We couldn't be helpful
Thank you for your feedback
Feedback sent
We appreciate your effort and will try to fix the article