TABLE OF CONTENTS
- Product Overview
- Quick Reference
- What's in the Box
- Parts & Controls
- Setting Up the Selfie Stick
- Attaching the Phone
- Adjusting the Head
- Using the Selfie Stick in Handheld Mode
- Detaching the Remote
- Bluetooth Remote Pairing
- Using the AI Tracking Head
- Gesture Control
- Using the Optional Magnetic Fill Light
- Charging the Tracking Camera
- Charging the Bluetooth Remote
- Care & Safety
- Troubleshooting
- Still stuck?
Product Overview
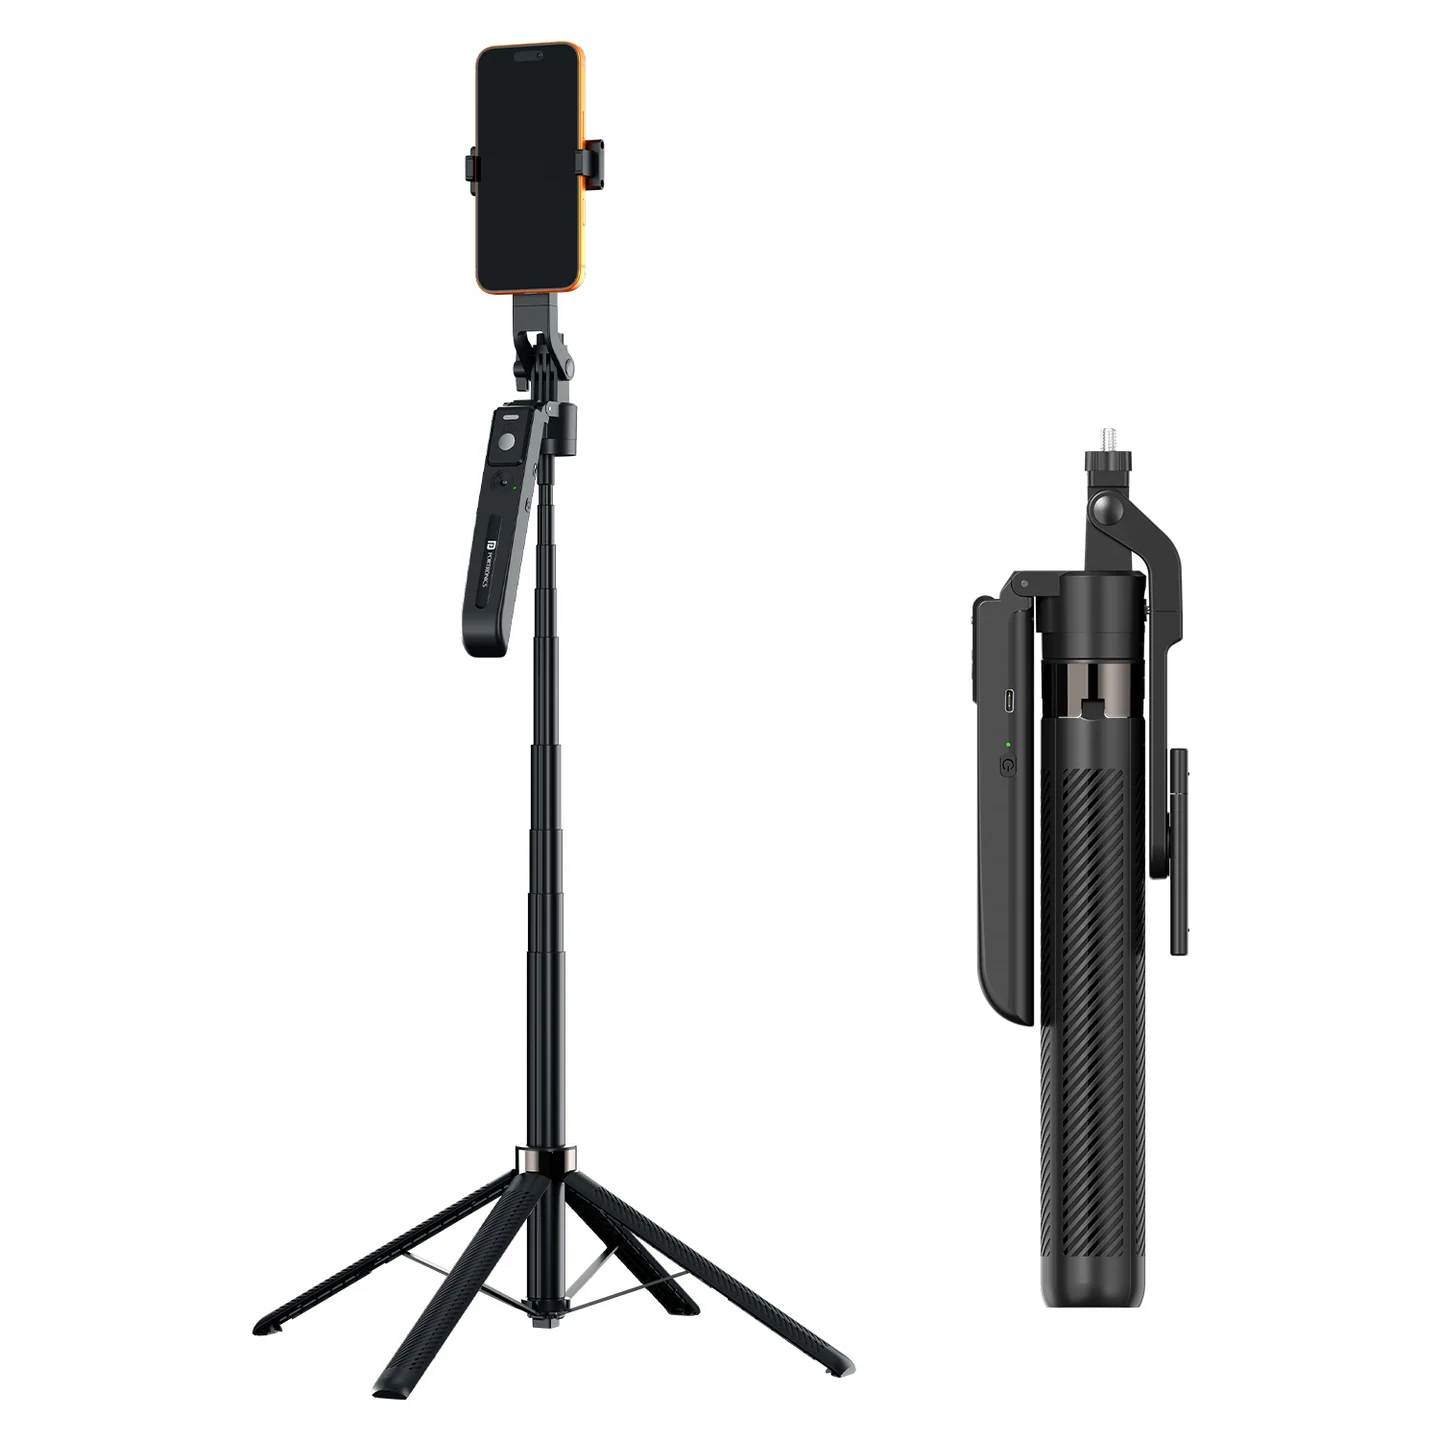
The Portronics Lumistick Pro Max (POR 3696) is an adjustable selfie stick with an AI tracking head, gesture control, a detachable Bluetooth remote and an optional magnetic fill light. It is designed for hands-free video recording, vlogging, live streaming and content creation.
The stick has a foldable quadrupod base, an adjustable phone clip, a rotating head and a telescopic aluminium rod. The AI tracking head follows the user when tracking is enabled.
Quick Reference
| Feature | Details |
|---|---|
| Product | Portronics Lumistick Pro Max |
| Product Code | POR 3696 |
| Colour | Black |
| Product Type | Adjustable Smart Selfie Stick |
| AI Tracking Range | Up to 5m |
| Bluetooth Remote Range | Up to 10m |
| Tracking Camera Battery | 1800mAh, 3.7V Li-ion |
| Remote Battery | 120mAh, 3.7V Li-polymer |
| Optional LED Fill-Light Battery | 300mAh, 3.7V Li-polymer |
| Fill-Light Modes | 9 modes: 3 warm, 3 white and 3 warm-white |
| Charging Input | 5V/1A |
| Folded Length | 32cm |
| Minimum Height | 48cm |
| Maximum Height | 180cm |
| Total Weight | 565g |
| Fill-Light Weight | 50g |
| Head Rotation | 360° |
| Charging Port | USB Type-C |
What's in the Box
| Item | Quantity |
|---|---|
| Selfie Stick | 1 |
| Remote | 1 |
| Charging Cable | 1 |
| Fill Light | 1 (shown as optional in the light section) |
Parts & Controls
| Part | Function |
|---|---|
| Phone Clip | Holds the smartphone |
| 1/4-inch Bolt | Accessory mounting point |
| Knob | Secures the head angle |
| Tracking Head / Camera | Tracks the user during recording |
| Head Lock & Unlock Switch | Unlocks the head for adjustment |
| Balancing Handle | Supports handheld use |
| Aluminium Rod | Extends the selfie stick |
| Stand / Quadrupod Legs | Provide stable hands-free placement |
| Remote Control | Wireless photo and video capture |
| Remote Power Switch | Turns the remote ON/OFF |
| Capture Button | Captures photos and starts/stops video recording |
| Optional Fill Light | Provides additional illumination |
| Fill-Light Power / Mode Button | Turns the light ON and cycles through light modes |
| Brightness Control | Adjusts fill-light brightness |
Setting Up the Selfie Stick
- Pull the aluminium rod to the required length.
- Press the push button at the bottom to release the tripod legs.
- Spread the legs and place the Lumistick Pro Max on a stable, level surface.
- Pull out the phone clip to install the phone.
- Unlock the head when adjusting its position.
- Lift the head to unlock its 360° rotation.
- Adjust the head to the required angle.
- Tighten the knob to secure the selected angle.
Check that the tripod base is stable and the phone is held securely before recording.
Attaching the Phone
- Pull out the phone clip.
- Position the phone in the clip.
- Adjust the clip so the phone is held securely.
- Check that the phone remains stable before moving the stick or starting tracking.
Adjusting the Head
- Move the head lock / unlock switch to unlock the head.
- Lift the head to release the rotation adjustment.
- Rotate the head up to 360° to frame the shot.
- Tighten the adjustment knob to secure the selected angle.
Do not force the head when it is locked.
Using the Selfie Stick in Handheld Mode
- Remove the phone from the clip before changing the base configuration.
- Fold the tripod legs as shown in the product diagram.
- Hold the balancing handle securely.
- Adjust the aluminium rod to the required length.
- Refit the phone securely before recording.
Detaching the Remote
- Locate the remote stored on the selfie stick.
- Push the remote upwards to remove it from its holder.
- Use the remote separately after pairing it with the phone.
- Slide / switch the remote power switch OFF after use.
Bluetooth Remote Pairing
- Turn ON the remote using its power switch.
- The remote indicator light flashes while it is ready to pair.
- Turn ON Bluetooth on your mobile phone.
- Search for Lumistick Pro Max in the Bluetooth device list.
- Select the device to pair.
- After successful pairing, the flashing indicator stops.
Taking Photos
- Pair the remote with your phone.
- Open the camera app.
- Press the remote Capture Button to take a photo.
Recording Videos
- Pair the remote with your phone.
- Open the video mode in the phone camera.
- Press the remote Capture Button once to start recording.
- Press the button again to stop recording.
Switching OFF the Remote
Use the remote's power switch to turn it OFF after use.
Using the AI Tracking Head
Important: Unlock the tracking head before turning it ON.
- Unlock the tracking head using the head lock / unlock switch.
- Long-press the tracking-head Power Button to turn ON the tracking camera.
- Position yourself within the specified tracking range of up to 5 metres.
- The tracking camera can follow the user as they move in front of it.
Tracking Button Functions
| Button Action | Function |
|---|---|
| Long press | Turns ON the tracking camera |
| Single press | Pauses tracking; indicator light flashes |
| Double click | Enters slow-rotation tracking mode |
| Click again | Returns from slow rotation to normal tracking |
| Long press | Stops rotation tracking |
Long press to turn ON and a long press to stop rotation tracking. Use the indicator and tracking response to confirm the current state.
Gesture Control
Gesture commands can be used while the tracking camera is powered ON.
| Gesture | Action |
|---|---|
| Palm gesture held for 3 seconds | Stops tracking; indicator stops flashing |
| OK gesture held for 3 seconds | Starts tracking; indicator turns ON |
Keep your hand clearly visible to the tracking camera while making the gesture.
Using the Optional Magnetic Fill Light
The fill light is shown as an optional accessory in the supplied product sheet. It has nine lighting modes:
- 3 warm-light modes.
- 3 white-light modes.
- 3 warm-white modes.
Turning ON and Changing Modes
- Press the fill-light Power Button once to turn ON the light.
- Press the button again to cycle through the available light modes.
- Continue pressing to select the desired colour and level.
- Long-press the Power Button to turn OFF the light.
Adjusting Brightness
Use the brightness control to adjust the light output to suit the environment.
Charging the Fill Light
- Connect a USB cable to the fill-light charging port.
- Use a 5V/1A USB power source.
- The red LED indicates charging.
- When fully charged, the green LED turns ON.
Charging the Tracking Camera
- Connect a USB cable to the tracking-head charging port.
- Use a 5V/1A USB power source.
- The red indicator turns ON during charging.
- When fully charged, the indicator turns green.
The tracking camera has a 1800mAh, 3.7V lithium-ion battery.
Charging the Bluetooth Remote
- Connect the remote to a USB charging source using its charging port.
- Use a 5V/1A USB power source.
- The red LED turns ON while charging.
- When fully charged, the red LED turns OFF.
The remote has a 120mAh, 3.7V lithium-polymer battery.
Care & Safety
- Do not expose the product to high temperatures for a long time.
- Keep the product away from fire.
- Do not allow children to access the product.
- Avoid dropping, colliding with or applying heavy impact to the tracking head, remote or fill light.
- Do not store the product in a low-temperature, humid environment.
- Unlock the tracking head before powering on tracking.
- Check the tripod base and phone clip before recording.
- Use a suitable 5V/1A charging source for the tracking head, remote and optional fill light.
Troubleshooting
| Issue | Possible Cause | Recommended Action |
|---|---|---|
| Phone is not held securely | Phone clip is not positioned correctly | Pull out and adjust the phone clip |
| Head does not rotate | Head lock is engaged | Unlock the head before adjusting |
| Selected head angle does not stay | Adjustment knob is loose | Tighten the knob after setting the angle |
| Remote does not pair | Remote is OFF or Bluetooth pairing has not started | Turn ON remote and search for Lumistick Pro Max |
| Remote does not take photos | Remote is disconnected or camera app is not open | Pair the remote and open the phone camera |
| AI tracking does not start | Tracking head is locked or powered OFF | Unlock the head and long-press its Power Button |
| Tracking pauses | Tracking was paused by a single press or gesture | Use the OK gesture for 3 seconds to restart tracking |
| Slow rotation does not activate | Double-click was not registered | Double-click the tracking-head Power Button |
| Fill light does not turn ON | Light battery is low or power button action is incorrect | Charge the light and press the Power Button |
| Charging indicator does not show full charge | Charging is still in progress | Continue charging until the specified full-charge indication appears |
Still stuck?
If the issue persists after performing all troubleshooting steps, please raise a support request.
Our support team will assist you further.
Support
- Visit: www.portronics.com
- Support Portal: support.portronics.com
Was this article helpful?
That’s Great!
Thank you for your feedback
Sorry! We couldn't be helpful
Thank you for your feedback
Feedback sent
We appreciate your effort and will try to fix the article